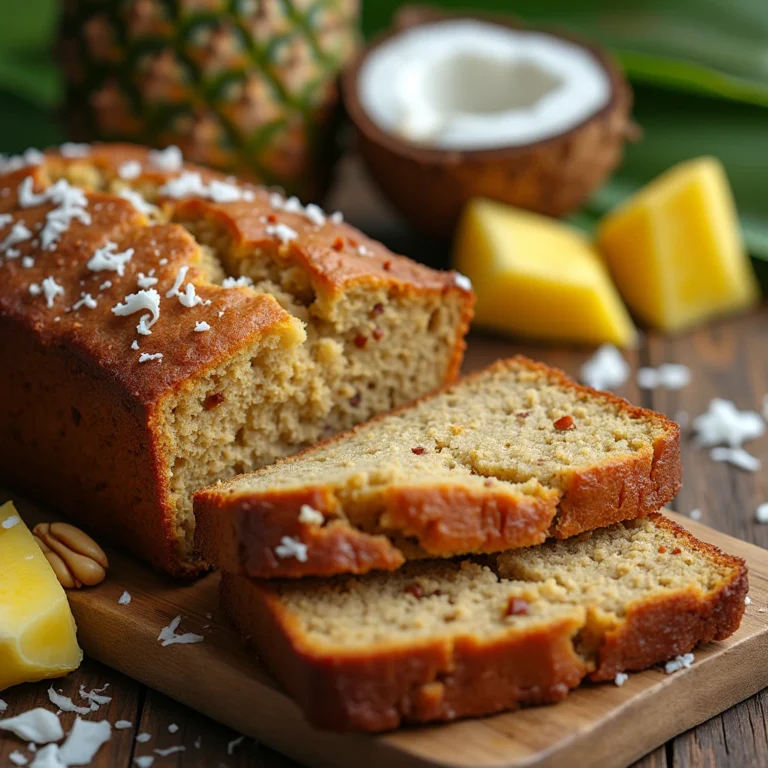
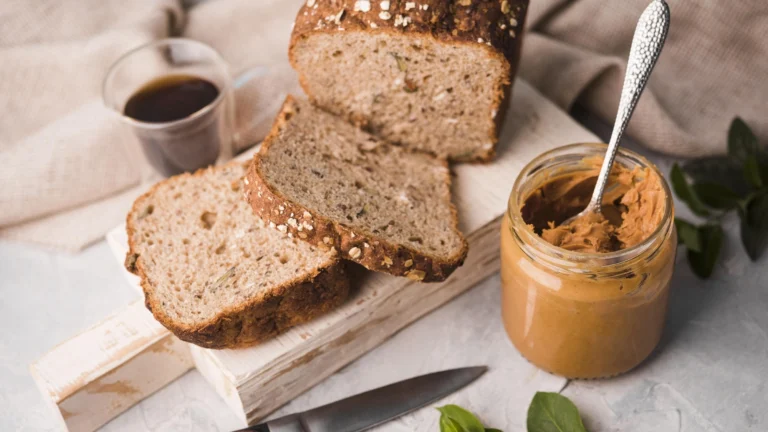
How to Make Dave’s Killer Bread at Home
Have you ever caught yourself staring at a $7 loaf of Dave’s Killer Bread in the store, wishing you could recreate that perfect blend of hearty grains and subtle sweetness in your own kitchen? You’re not alone. After countless hours of testing and tweaking, I’ve discovered the secrets to baking this beloved bread at home. Get ready to transform your kitchen into a craft bakery as you master the art of making Dave’s Killer Bread-style loaves that’ll make your morning toast absolutely extraordinary.
Table of Contents
The Journey Behind Dave’s Killer Bread: More Than Just a Loaf
Before we dive into the baking process, let’s appreciate the remarkable story that makes Dave’s Killer Bread more than just another bread brand. What started as a small family bakery transformed into a nationwide phenomenon, thanks to Dave Dahl’s incredible journey of redemption and his commitment to crafting the perfect loaf.
The magic of Dave’s Killer Bread lies in its unique combination of organic whole grains, perfect texture, and just the right touch of sweetness. While the original recipe remains a closely guarded secret, you’re about to discover how to create a homemade version that captures the essence of this legendary bread.

Essential Ingredients: Building Your Dave’s Killer Bread Foundation
Success in recreating Dave’s Killer Bread starts with choosing the right ingredients. Each component plays a crucial role in achieving that signature taste and texture you’ve come to love.
| Main Ingredients | Amount | Why It Matters |
|---|---|---|
| Organic whole wheat flour | 3 cups | Creates the hearty base and delivers essential nutrients |
| Vital wheat gluten | ¼ cup | Ensures proper structure and chewy texture |
| Active dry yeast | 2¼ tsp | Provides perfect rise and fermentation |
| Organic rolled oats | ½ cup | Adds texture and nutritional value |
| Mixed seeds blend | 1 cup | Creates signature taste and appearance |
| Organic molasses | 2 tbsp | Develops complex flavor profile |
| Organic honey | 2 tbsp | Balances sweetness naturally |
| Warm water | 1½ cups | Activates yeast and binds ingredients |
| Sea salt | 2 tsp | Enhances overall flavor |
Your Essential Equipment Checklist
Before you begin your bread-making adventure, gather these tools for the best results:
- A reliable stand mixer with a dough hook attachment
- A large mixing bowl for proper dough development
- A 9×5 inch loaf pan (dark metal works best)
- An accurate kitchen scale for precise measurements
- A kitchen thermometer for perfect water temperature
- Clean kitchen towels for covering the dough
Mastering the Method: Step-by-Step Guide to Your Perfect Loaf

Phase 1: Perfect Dough Preparation
Your journey to the perfect Dave’s Killer Bread starts with proper dough preparation. Begin by combining your dry ingredients in the stand mixer bowl. In a separate container, dissolve the honey and molasses in warm water (105-110°F), then add the yeast. Let this mixture sit for 5 minutes until it becomes foamy and fragrant.
With your mixer on low speed, gradually incorporate the wet ingredients into the dry mixture. Once combined, increase the speed to medium and knead for 8-10 minutes. You’ll know your dough is ready when it feels smooth and springs back when gently pressed.
Phase 2: The Art of the First Rise
Transfer your dough to a lightly oiled bowl, cover it with a damp cloth, and let it rise in a warm spot (around 75°F) for about 1 hour. You’re looking for the dough to double in size and develop a smooth, puffy appearance.
Once doubled, gently deflate the dough and shape it into a loaf. Place it in your prepared pan, then sprinkle additional seeds on top for that classic Dave’s Killer Bread appearance.
Phase 3: Final Rise and Baking Success
Let your shaped loaf rise again for about 45 minutes, or until it’s crowned about an inch above the pan’s rim. Meanwhile, preheat your oven to 350°F. Bake for 35-40 minutes, or until the loaf reaches an internal temperature of 190°F and produces a hollow sound when tapped.
Troubleshooting Tips for Perfect Results
Even experienced bakers encounter challenges. Here’s how to address common issues:
- If your bread isn’t rising properly, check your yeast’s freshness and water temperature
- Dense texture often means more kneading time is needed
- Crumbly bread typically indicates too much flour – remember to measure accurately
- Collapsed loaf? Your final rise might have gone too long
Beyond the Basic Loaf: Customization Options
Once you’ve mastered the basic recipe, try these variations:

Seed Combinations
- Pumpkin and sunflower seeds for extra crunch
- Chia and flax for omega-3 boost
- Sesame and poppy for classic flavor
Flour Alternatives
- Spelt flour for nutty undertones
- Rye flour for deeper flavor
- Kamut flour for ancient grain benefits
Frequently Asked Questions About Dave’s Killer Bread
Q: Why doesn’t my homemade Dave’s Killer Bread rise as well as store-bought?
A: Fresh ingredients, particularly vital wheat gluten and yeast, are crucial for proper rise. Also, ensure your water temperature is correct and you’re allowing adequate rise time.
Q: Can I make this bread without a stand mixer?
A: Yes! While a stand mixer makes the process easier, you can knead by hand for 15-20 minutes to develop proper gluten structure.
Q: How should I store my homemade Dave’s Killer Bread?
A: Store at room temperature in a bread bag for up to 3 days, or slice and freeze for up to 3 months. Thaw slices as needed.
Your Next Steps to Bread-Making Success
Creating your own version of Dave’s Killer Bread at home is more than just following a recipe – it’s about mastering an art form that connects you to a rich baking tradition. With each loaf you bake, you’ll develop a deeper understanding of the bread-making process and the satisfaction of creating something truly special.
Ready to start your bread-making journey? Gather your ingredients, clear your counter space, and prepare to fill your kitchen with the irresistible aroma of freshly baked bread. Remember, perfect bread-making comes with practice, so don’t get discouraged if your first loaf isn’t perfect. Keep refining your technique, and soon you’ll be baking loaves that rival the original Dave’s Killer Bread.
Share your bread-making adventures with us in the comments below, and don’t forget to subscribe to our newsletter for more detailed baking guides and recipes. Happy baking!