Classic Date Nut Bread Recipe for the Perfect Afternoon Snack
Table of Contents
Introduction: Rediscover Comfort in Every Bite
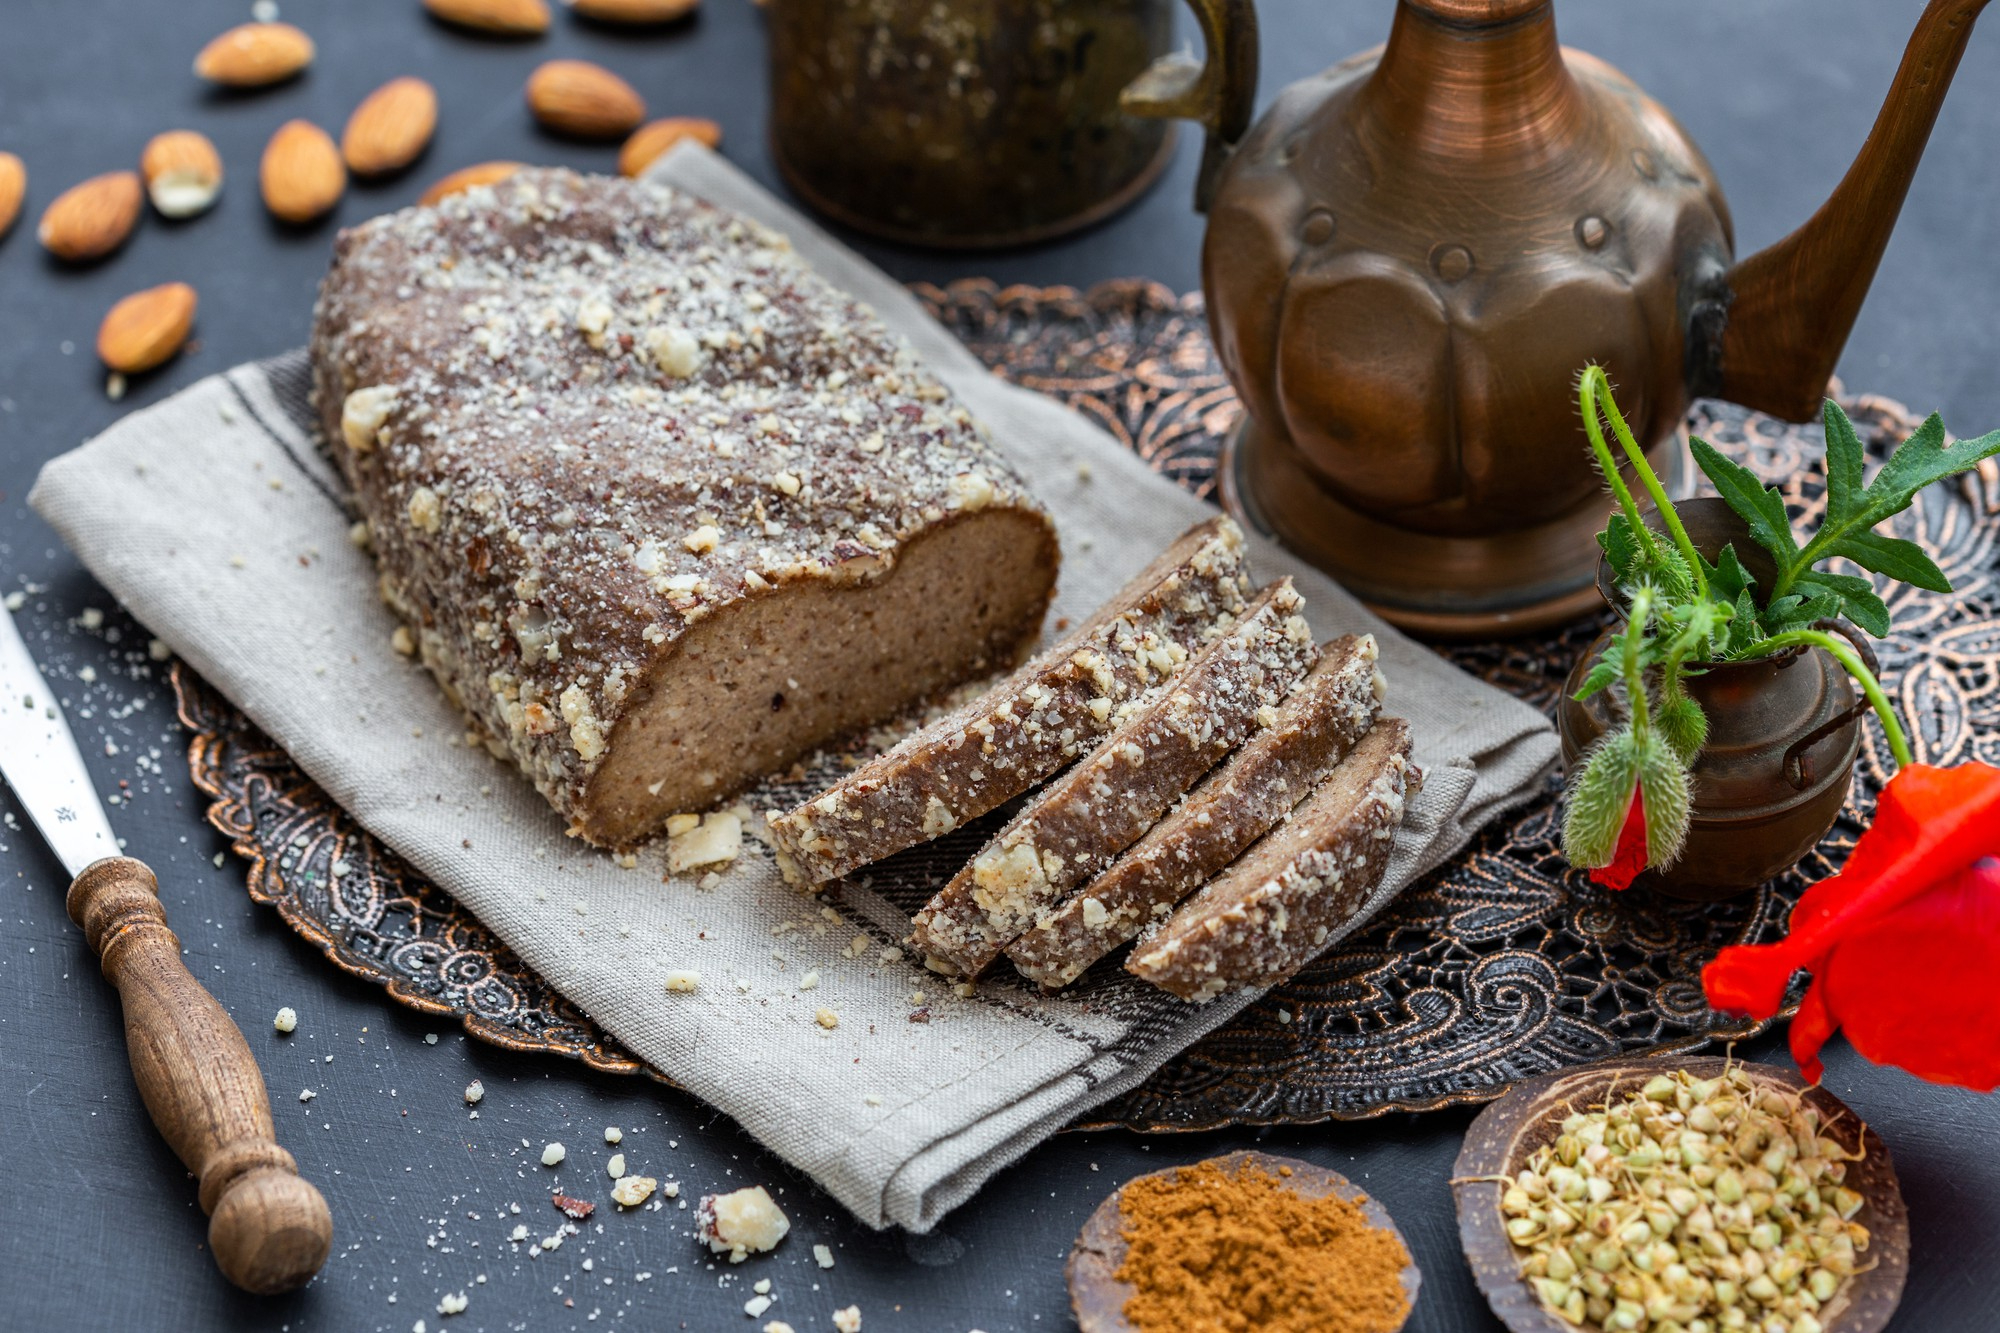
Date nut bread Recipes is a time-honored delight that has been a staple in households for generations. This classic recipe brings together the rich sweetness of dates and the satisfying crunch of nuts, making it an ideal choice for an afternoon snack. Whether you enjoy it with a cup of tea or coffee, this homemade bread offers a nostalgic taste of comfort and warmth. Perfect for family gatherings or quiet moments alone, date nut bread is both versatile and delicious. Here, you’ll find a simple recipe to help you rediscover this comforting treat.
The Benefits of Date Nut Bread
Date nut bread is not just a nostalgic treat; it’s packed with health benefits that make it an excellent choice for an afternoon snack. Dates, one of the primary ingredients, are high in natural sugars, fiber, and essential nutrients like potassium, magnesium, and vitamin B6. These nutrients can help boost energy levels, regulate digestion, and support heart health. Additionally, nuts included in the bread add a delightful crunch and are a great source of protein, healthy fats, and antioxidants. Eating date nut bread can promote satiety, helping you feel fuller for longer, which makes it a smart addition to your snack repertoire.
Ingredients for the Perfect Moist Date Nut Bread
Creating the perfect moist date nut bread requires selecting the right mix of ingredients. This classic recipe balances the natural sweetness of dates with the rich flavor of nuts, resulting in a loaf that is both delicious and satisfying. Here’s what you’ll need:
Gathering Your Ingredients
– Dates: 1 cup of chopped, pitted dates. They should be fresh and soft to ensure the best results.
– Nuts: 1/2 cup of chopped walnuts or pecans. These add a lovely texture and nutty flavor.
– Flour: 1 1/2 cups of all-purpose flour. This provides the base structure for your bread.
– Sugar: 1/2 cup of brown sugar. It adds a deep, molasses-like sweetness.
– Baking Soda: 1 teaspoon. This helps the bread rise properly and become fluffy.
– Salt: 1/2 teaspoon. Enhances flavor balance.
– Butter: 1/2 cup, softened. Adds moisture and richness.
– Egg: 1 large egg for binding all ingredients together.
– Vanilla Extract: 1 teaspoon for a touch of warmth and depth.
– Boiling Water: 3/4 cup to soften the dates and help blend the ingredients smoothly.
Prepping Your Baking Tools
Having the right tools ready is essential for a smooth baking process. Here’s what you’ll need:
– Mixing Bowls: You’ll need at least two bowls: one for the wet ingredients and another for the dry ingredients.
– Measuring Cups and Spoons: To make sure ingredients are measured accurately.
– Loaf Pan: A standard 9×5 inch loaf pan works best for this bread.
– Parchment Paper: To line the loaf pan, ensuring easy removal of the bread.
– Spatula or Spoon: For mixing the batter efficiently.
– Whisk: Useful for blending dry ingredients or beating the egg.
By organizing your ingredients and baking tools in advance, you can streamline the process and ensure your date nut bread comes out perfectly every time.
How to Make Moist Date Nut Bread: Step-by-Step Recipe
Creating a classic date nut bread that is both moist and flavorful is a straightforward process when you follow these steps. With carefully selected ingredients and a little bit of preparation, you’ll have a delicious homemade snack in no time.
Mixing the Batter
Start by gathering your ingredients: flour, sugar, baking soda, salt, butter, eggs, and vanilla extract. Preheat your oven to 350°F (175°C). In a mixing bowl, cream the butter and sugar together until the mixture becomes light and fluffy. Then, add the eggs one at a time, making sure to beat well after adding each one for a smooth blend. Stir in the vanilla extract to add an aromatic touch. In another bowl, whisk the dry ingredients: flour, baking soda, and salt.Slowly incorporate the dry ingredients into the wet mixture, stirring just until they are combined. This helps to prevent overworking the batter.
Adding the Dates and Nuts
The signature components of this bread are the sweet dates and crunchy nuts. Chop dates into small pieces and soak them in hot water for about 10 minutes to soften, then drain well. Add the dates to your batter, gently folding them in to distribute evenly. For the nuts, pick your favorite type, such as walnuts or pecans, chop them coarsely, and fold them into the batter as well. Be careful not to over-mix, as this ensures the bread remains tender.
Baking to Perfection
Lightly grease a loaf pan and pour in the batter. Use a spatula to smooth the top for even baking. Put the pan in the preheated oven and bake for 50-60 minutes, or until a toothpick inserted into the center comes out clean. Let the bread cool in the pan for about 10 minutes, then transfer it to a wire rack to cool completely.
Tips for Perfecting Your Moist Date Nut Bread
Improving your date nut bread can really boost its flavor and texture. Try these tips to take your baking to the next level.
Choosing the Right Type of Nuts
Selecting the right nuts can greatly influence the taste and texture of your bread. Walnuts, for instance, are a traditional favorite, bringing a slightly bitter contrast to the sweetness of dates. Alternatively, pecans offer a buttery flavor that beautifully complements the bread’s sweetness. For an extra boost of flavor, toasting the nuts before incorporating them can add a wonderful depth to each bite.
Making It Moist and Fluffy
For a successful date nut bread, aim for moisture and fluffiness. Start with fresh, plump dates to add natural sweetness and moisture. Keep an eye on your dry-to-wet ingredient ratio because using too much flour can make the bread dry. Soaking the dates before use is a good step, and you might want to mix in a tablespoon of sour cream or yogurt to boost the bread’s moisture and tenderness.
Storage and Shelf Life
Once you’ve baked the perfect date nut bread, proper storage is essential to maintain its freshness. Allow the bread to cool completely before wrapping it in plastic wrap or placing it in an airtight container. Stored at room temperature, it should stay fresh for up to three days. For longer shelf life, consider freezing the bread. Wrap it tightly in aluminum foil and place it in a freezer bag. When ready to eat, thaw it at room temperature, and enjoy the delightful taste of homemade date nut goodness.
Mistakes to Steer Clear of When Baking Date Nut Bread
Baking the perfect date nut bread can be a rewarding experience, especially when it’s done right. However, there are some common pitfalls to be aware of to ensure your bread turns out moist and flavorful:
– Overmixing the Batter: One of the most frequent mistakes when baking date nut bread is overmixing the batter. Overmixing can lead to a tough, dense loaf. To prevent this, mix the ingredients until just combined. This minimizes gluten development, resulting in a lighter texture.
– Incorrect Measurements: Accurate measurements are crucial for any baking recipe. Using too much flour, for example, can make the bread dry. Ensure you use the proper measuring cups and spoons, and level off ingredients for precision.
– Using Old Baking Powder or Baking Soda: These leavening agents lose effectiveness over time. Check the expiration dates and replace them if they’ve been sitting in your pantry for too long to guarantee your bread rises correctly.
– Skipping the Pre-soak for Dates: Dates can be quite tough if not soaked properly. They need to be rehydrated to release their natural sweetness and contribute to the bread’s moisture. Soak them in warm water before mixing them into the batter.
– Overbaking the Bread: Keep a close eye on your bread as it bakes. Overbaking will dry it out. Use a toothpick to check for doneness; it should come out with just a few crumbs attached.
Storing and Freezing Date Nut Bread
Once you’ve baked your delicious date nut bread, proper storage is essential to maintain its freshness and flavor.
– Room Temperature Storage: If you plan to consume the bread within 2-3 days, store it in an airtight container at room temperature. This prevents it from drying out and keeps the bread moist.
– Refrigeration: For longer storage, you can refrigerate the bread. Wrap it tightly in plastic wrap or aluminum foil and place it in the fridge to keep it fresh for up to a week.
– Freezing: Date nut bread freezes wonderfully, making it a perfect choice for snacks later on. Simply slice the bread and wrap each piece individually in plastic wrap or foil. Then, place the wrapped slices in a freezer bag, ensuring you remove as much air as possible. This technique helps avoid freezer burn and maintains the bread’s quality. When you’re ready to indulge, just thaw the slices at room temperature or lightly toast them to enjoy their fresh-baked flavor again.
By avoiding common baking errors and storing your bread correctly, you can ensure that your date nut bread is always ready as a delightful afternoon treat.
Conclusion: Your New Favorite Date Nut Bread Recipe Awaits
In conclusion, this classic date nut bread recipe is sure to become a favorite in your baking repertoire. The delightful combination of sweet dates and crunchy nuts creates a perfect balance of flavors that makes for a satisfying afternoon snack.
Whether you are enjoying it fresh from the oven or after a few days, the moist texture and rich taste are bound to win you over. Share this recipe with friends and family or savor it in solitude with a cup of tea or coffee. Start baking today, and experience the timeless pleasure of homemade date nut bread. It’s more than just a snack; it’s a little slice of comfort at any time of your day.


